Preparing surfaces, choosing the right tools, and mastering application techniques are the keys to achieving a flawless paint finish that will impress and endure. While painting may seem straightforward, a multitude of factors can impact the outcome. Here are some expert tips to ensure your next painting project delivers a perfect finish.
First and foremost, surface preparation is critical. A clean, smooth surface is essential for an even paint application. Wash the walls to remove dirt, grease, and grime, and repair any damage, filling holes and sanding down uneven areas. A properly prepared surface ensures the paint adheres evenly and creates a smooth, long-lasting finish. It is also important to use high-quality primer and paint. A good primer will seal the surface and provide a base for the paint to adhere to, ensuring the true color comes through. Opt for a primer and paint designed for the specific surface you’re working with, be it drywall, wood, or metal.
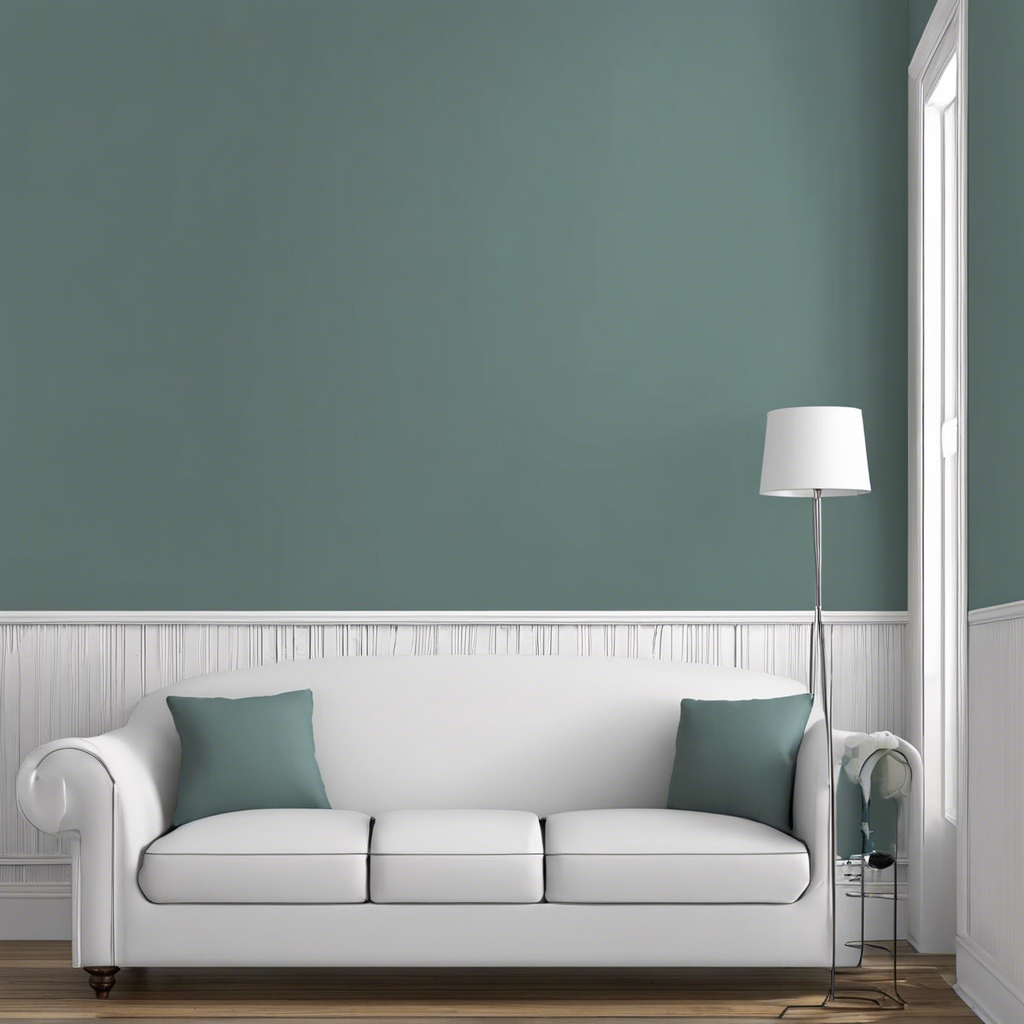
Choosing the right paint finish is also key. From flat to high-gloss, the options offer varying levels of shine and durability. Flat finishes are ideal for low-traffic areas as they tend to be more porous and difficult to clean, whereas high-gloss finishes are perfect for trim and accents due to their durability and ease of cleaning. For most rooms, an eggshell or satin finish strikes a balance between a subtle shine and washability.
Investing in quality painting tools is equally important. Cheap brushes and rollers can leave streaks and shed fibers, marring your final look. Opt for brushes with soft, flexible bristles that hold their shape and rollers with high-density, lint-free covers. For trimming, a 2- to 3-inch angled brush is ideal for cutting in straight lines, while a larger flat brush works well for broad surfaces. Roller selection depends on the texture you want and the surface you’re covering.
Proper technique also plays a critical role in achieving a professional finish. Start by cutting in the edges with a brush, then use a roller to fill in the main areas. Employ a consistent, light touch and maintain a wet edge to avoid lap marks. For the best results, work in small sections and maintain a consistent speed and pressure.
In addition to the usual rollers and brushes, consider adding some special tools to your kit. A paint sprayer, for example, can deliver a smooth, even finish on large projects, while a paint pad applicator is perfect for covering textured surfaces quickly and efficiently.
Remember to always read the paint manufacturer’s instructions and take the necessary safety precautions when preparing and painting. With the right tools, techniques, and preparation, anyone can achieve a professional-looking paint job and transform their space.
For intricate projects that require detail work, invest in a set of small art brushes. These brushes allow for precision painting around delicate features, ensuring a polished result. When tackling a multi-room project, establish a plan of action. Start with the smallest room first, allowing you to master your technique and build confidence.
Additionally, lighting plays a significant role in how paint colors appear. Before settling on a shade, observe how natural light impacts the color throughout the day. Artificial lighting, such as warm or cool bulbs, can also alter the hue, so choose your lighting carefully to ensure the color remains true to your vision.
When painting, it’s crucial to be mindful of the environment and opt for low-VOC or no-VOC paints whenever possible. These paints have lower levels of volatile organic compounds, reducing potential health risks and minimizing odors. Always dispose of paint and related materials responsibly, following local guidelines.
Lastly, don’t rush the process. Painting may be time-consuming, but taking your time ensures a high-quality, long-lasting finish. Proper preparation, careful painting, and adequate drying time are key to achieving a stunning result. Embrace the process, and you’ll be rewarded with a space that wows.